
The machine for making the machine
And the machines I used to make it

Part of running Excamera Labs is production. Existing products sell through distributors, and to keep the distributors in stock, I process batches of product. Several times a year my shed has to function as a tiny factory.
The batch size is usually 1000 units. This suits our current scale. Last April I had 1000 I²CMini units come through. I²CMini is the bare-bones version of I²CDriver: no screen, no voltage or current sensor.

The contract manufacturer I use does a preliminary test on I²CMini, and a full test and firmware load happens here in California. The test/load cycle is fully automatic and uses the USB connection. Physically, the test PC connects to I²CMini’s USB, I wait a couple of seconds for the cycle to complete, and put the finished unit in a tray.
Sounds pretty easy. But doing anything 1000 times is hard on the staff. And by “staff” I mean “me.” Excamera Labs is very much a Mom and Pop operation, where Mom is busy elsewhere.
So for this run, I decided to make a machine to help. I had a few clamps I’d ordered some time ago. These are “quick release toggle clamps,” they move a shaft a few centimeters, just right for a USB attach/detach action.

Armed with these, a 3D printer, and a few hours to spare, I got to work making a simple machine to make it the plug/unplug cycle much faster.
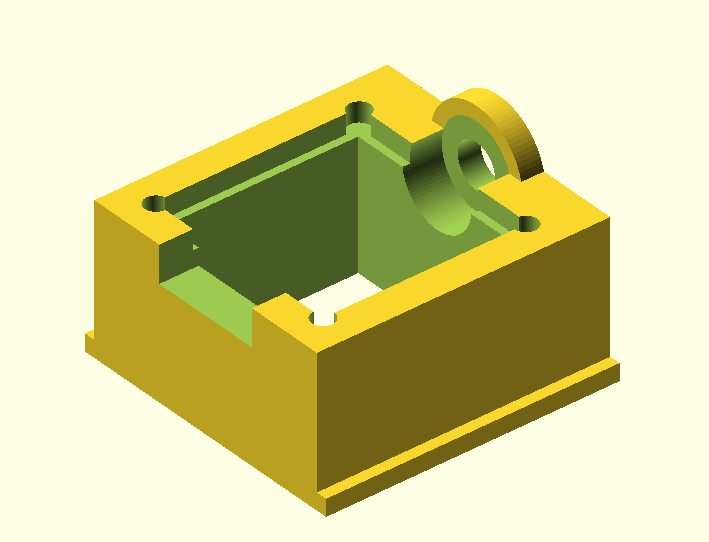
The first objective was to hold the USB plug stationary. After a few attempts, I arrived at this design, just a cube with a very tight hold on the USB plug. There’s even a hole for a retaining screw in the top. (Things coming loose during a production run does break the monotony, but in an extremely annoying kind of way.)

The actual moving part is the cradle. It connects to the toggle clamp, securely holds the board, and slides along a linear track.
One 3D-printing trick I’ve picked up is to put dogbones at the corners where the PCB will sit. The printer is really great, but it has a tendency to round out the internal corners, making a clean fit hard to achieve. By eliminating the internal corners entirely, you can get a nice 0.1mm tolerance fit without trouble.

The cradle slides along a couple of rails of laser-cut acrylic. There’s a little silicone lubricant on the rails to keep it sliding smoothly. After all the measuring and CAD work and printing, putting it together and checking for alignment and fit before screwing it all down onto the wooden board works wonderfully well.
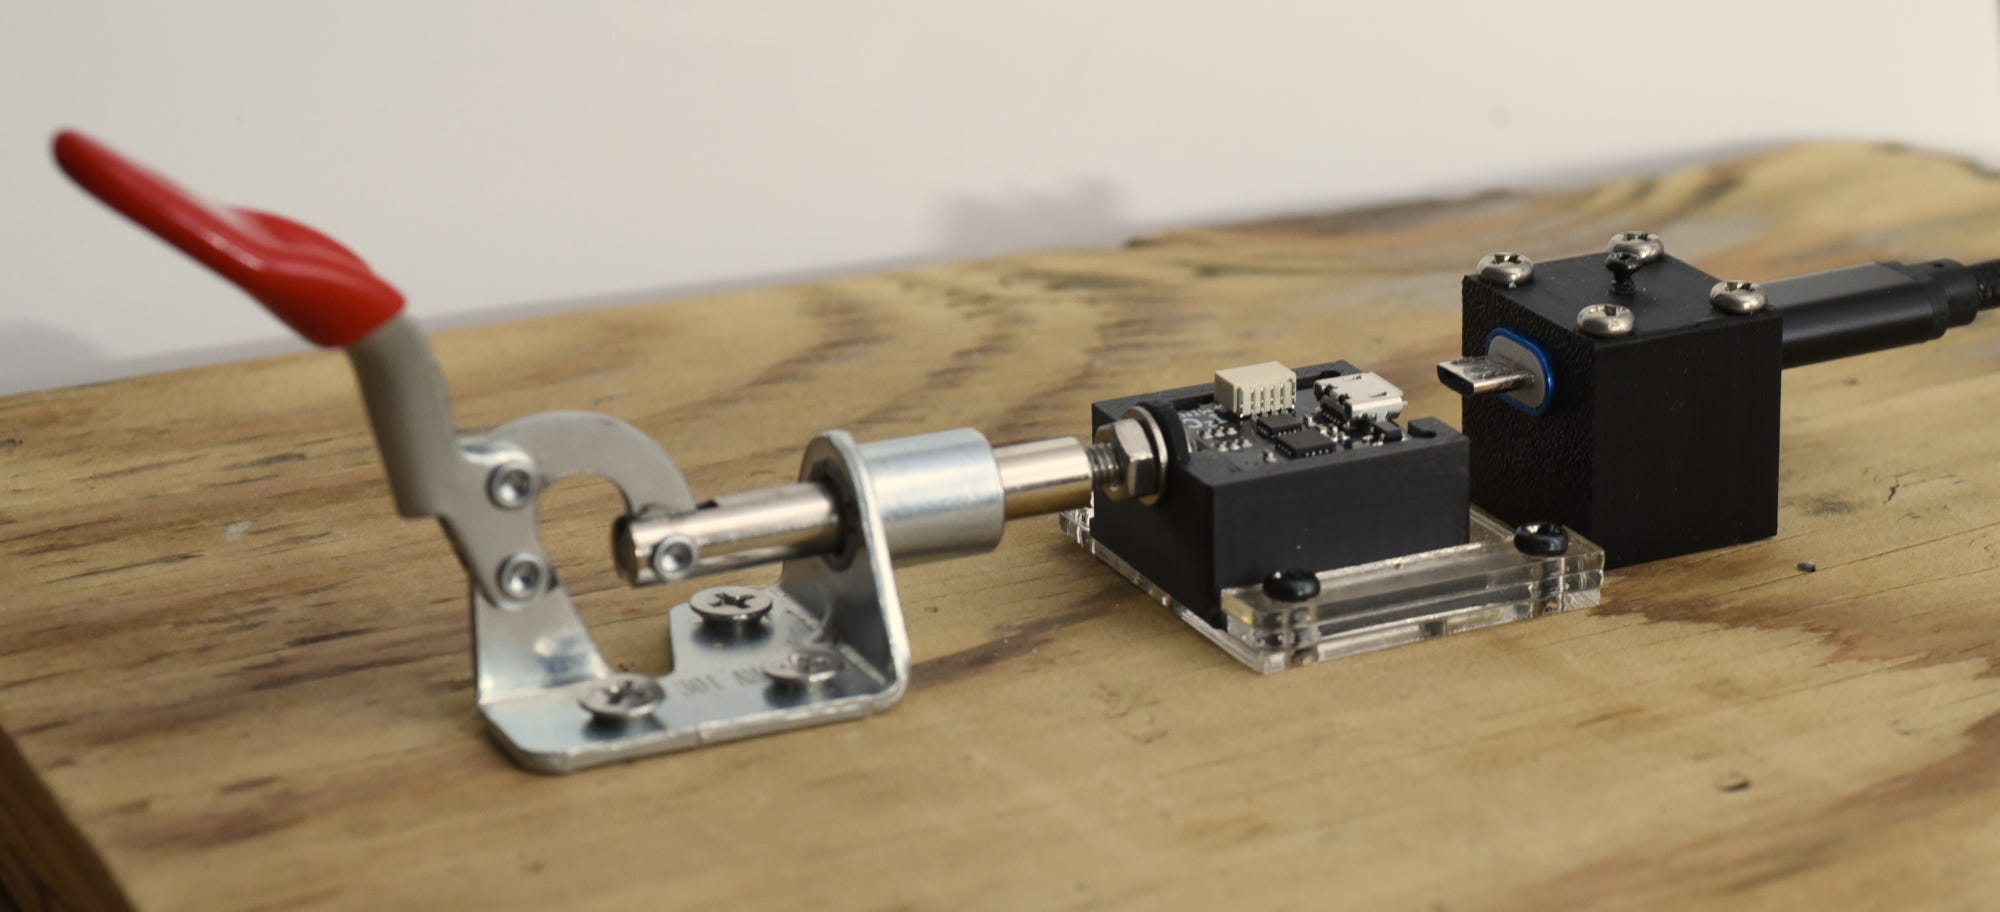
Here it is in action. It’s a huge improvement over manually plugging each into USB. The whole batch of 1000 took about 3 hours, with no carpal tunnel at all.
Thanks for reading.
That is really cool! Nice rig.